
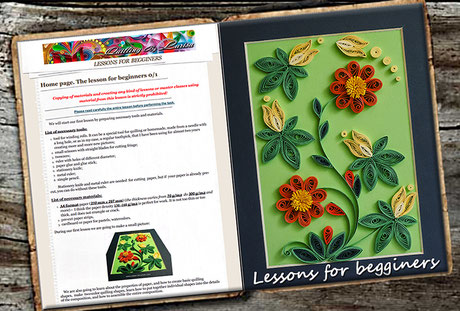
We will start our first lesson by preparing necessary tools and materials.
We are also going to learn about the properties of paper, and how to create basic quilling shapes, make two-color quilling shapes, learn how to put together individual shapes into the details of the composition, and how to assemble the entire composition.
We will discuss every work in order to find a compositional center of a picture. We will also define for ourselves the most favorable location of the parts in our pictures, which will mainly consist of flower arrangements, and you will use them to create a your own masterpieces.

But there is no need to argue that all color compositions must be absolutely correct. You must always remember that the rules are created so we can break them. The main principal for you to remember is to not create an image using a template scheme, but make a beautiful harmonious picture.
For the beginners it is very difficult to understand everything right away. Do not worry. The knowledge that you have gained will be useful over time.
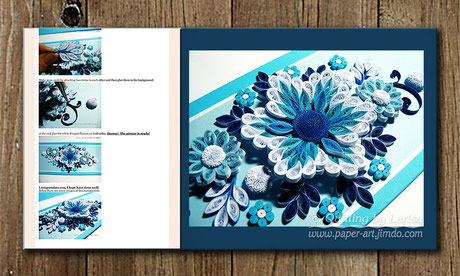
I use the сolor circle when I want to create a decorative composition. The one that does not exist in really. For example, during today's lesson we'll make blue and white-blue leaves and flowers in this color range.
We will talk about correct choice of color during our 3rd or 4th lessons. The science about colors is called - chromatics (chromatic circle)
In our second lesson we will continue to study the forms of rolls and will make a sunny composition with a small butterfly.

In the third lesson we will make a Winter Composition. You can make a summer, autumn and spring work, and you will have the entire series of works of all four seasons of the year.
In the fourth lesson, we will be able to use some of the skills that we learnt previously. We will learn how to make new elements, rounded stamens, rolls with the shifted center, cones, round passepartout, a wicker basket, and we will learn how to give more volume to our composition.

In the fifth lesson we will learn how to make a blooming tree twig. We will paint a background and collect the entire composition.
In life, we always strive for something sublime, that is why in our work we try to make an accent on the main details.
The 1st lesson is in PDF format and contains 111 well presented detailed photos with descriptions in English. This tutorial has 33 pages.
The 2nd lesson is in PDF format and contains 165 well presented detailed photos with descriptions in English. This tutorial has 45 pages.
The 3rd lesson is in PDF format and contains 116 well presented detailed photos with descriptions in English. This tutorial has 35 pages.
The 4th lesson is in PDF format and contains 110 well presented detailed photos with descriptions in English. This tutorial has 32 pages.
The 5th lesson is in PDF format and contains 111 well presented detailed photos with descriptions in English. This tutorial has 39 pages.
I tried to describe the process the most understandable.
Please contact me -lora.344@gmail.com- if you have any questions or don't understand any of the steps of this tutorial and I will help you.
Copying of materials and creating master classes based on the materials from this lesson is strictly prohibited.